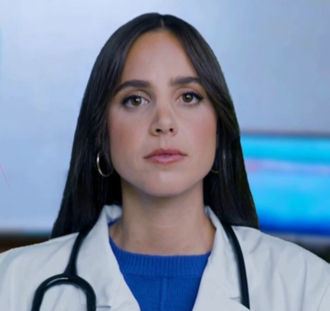
Avatar Conversation
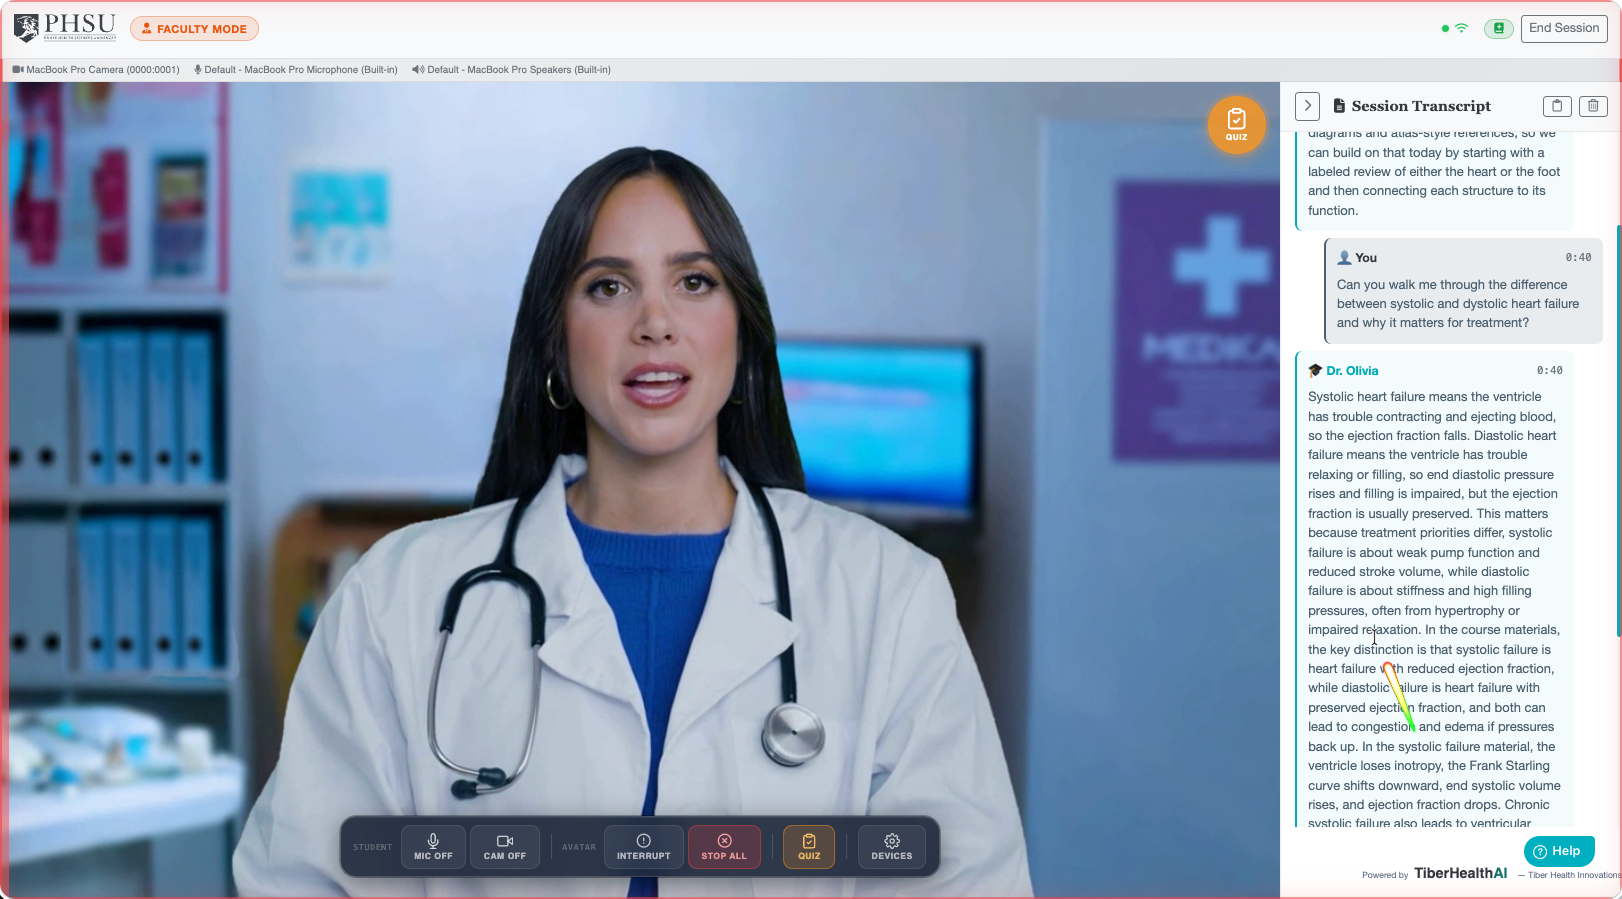
The avatar interface is the full Dr. Olivia experience — you see her face, she sees yours (or just hears you in audio mode), and a transcript pane on the right keeps a written record of everything that's said.
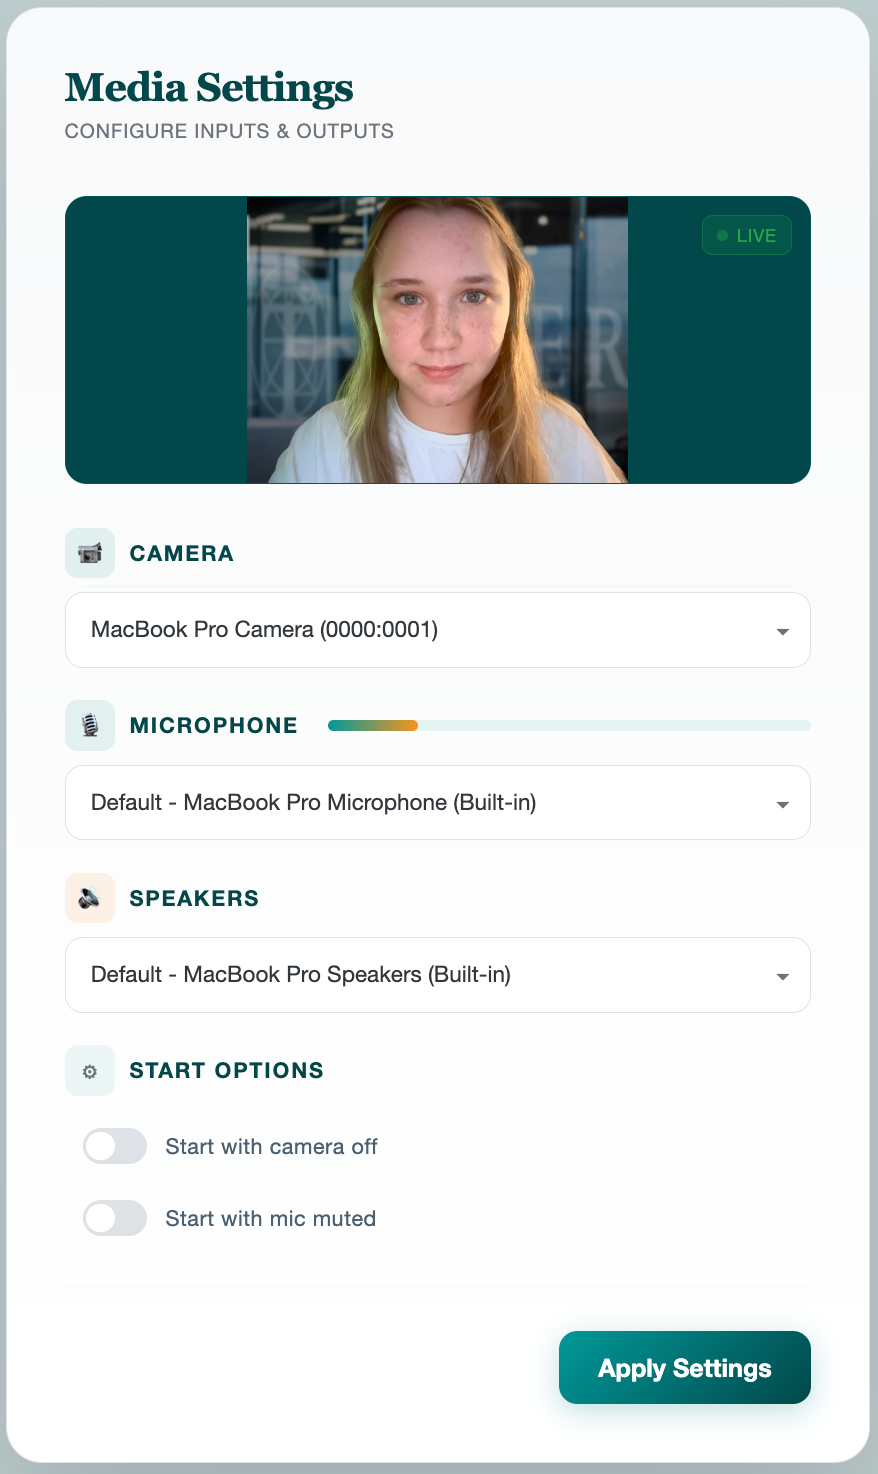
The Pre-Call Media Dialog
Before the call starts, a media dialog appears so you can pick your microphone and camera. Toggle switches let you start the call with your microphone muted or your camera off.
Tip: set your defaults in My Settings
(Media.DefaultMicMute and Media.DefaultVideoOff) and the
toggles will be pre-checked every time.
Talking to Dr. Olivia
Just speak. The avatar uses voice activity detection — she'll listen when you start talking and respond when you pause. You don't need to push a button.
- Status indicator — small label below the avatar shows what's happening: Listening, Processing, Speaking, Generating Image.
- Mute / Camera — standard call controls along the bottom of the avatar tile.
- End Call — closes the session. You can re-open it later from the Selection page; it's not deleted.
Text Input Mode
Some places aren't great for talking out loud — the library, a shared study room, a noisy coffee shop. Click the round Text button in the lower-left corner of the avatar tile to switch into typing mode without ending your session.
- Your microphone is muted automatically when text mode opens, and unmuted again when you close it.
- A chat-style box appears just above the toolbar. Type your question and press Enter to send. Shift+Enter inserts a newline if you want to write a longer prompt.
- The textarea grows up to five lines on its own — long enough to paste a question stem or a short passage from your notes.
- Dr. Olivia responds the same way as in voice mode — she speaks the answer and the transcript fills in alongside, so you can listen with headphones or just read.
- Close text mode by clicking the Text button again, pressing Esc while focused in the box, or by unmuting your microphone (a signal that you want to talk).
Transcript Sidebar
On the right is a live transcript of the conversation. Each message is its own bubble with a timestamp. You can scroll back through the whole call.
- Generated images appear in their own dedicated bubble — click the thumbnail to re-open the full image overlay.
- Each of Dr. Olivia's responses has thumbs-up and thumbs-down buttons in its header — click to rate the response, click the active thumb again to clear. Ratings are private feedback to the development team.
- Past sessions you've continued from will show their transcript at the top, marked as the prior session.
Image Overlay
When Dr. Olivia generates an image (see Image Generation), it pops up as a full overlay on top of the avatar so you can study it while she keeps talking. The overlay has:
- A close button (×) in the top-right corner.
- Click anywhere outside the image to dismiss the overlay.
- The image is preserved in the transcript — clicking the transcript thumbnail re-opens the overlay.
Special Pills
- Faculty Mode — visible to faculty users only.
- Acting As User — visible only when an admin is impersonating someone. If you see this badge during a screen share, the viewer immediately knows it's not a real student.
Ending vs. Closing the Tab
Clicking End Call is the cleanest way to end — it triggers session summarization, USMLE topic classification, and the post-session email. Closing the tab without ending will still close the session on the server after a short idle period, but the email and summary may take a few minutes longer.
Rate Your Session
After you click End Session, a short rating screen appears. Give the session a star rating (1–5) and, if you like, add a quick comment about what went well or what could be better. You can also click Skip to head straight back to the home page. Clicking the PHSU logo in the top-left routes you through the same rating screen on its way back to selection. The same rating link is included at the bottom of your post-session summary email, so you can also leave feedback later — no sign-in required.